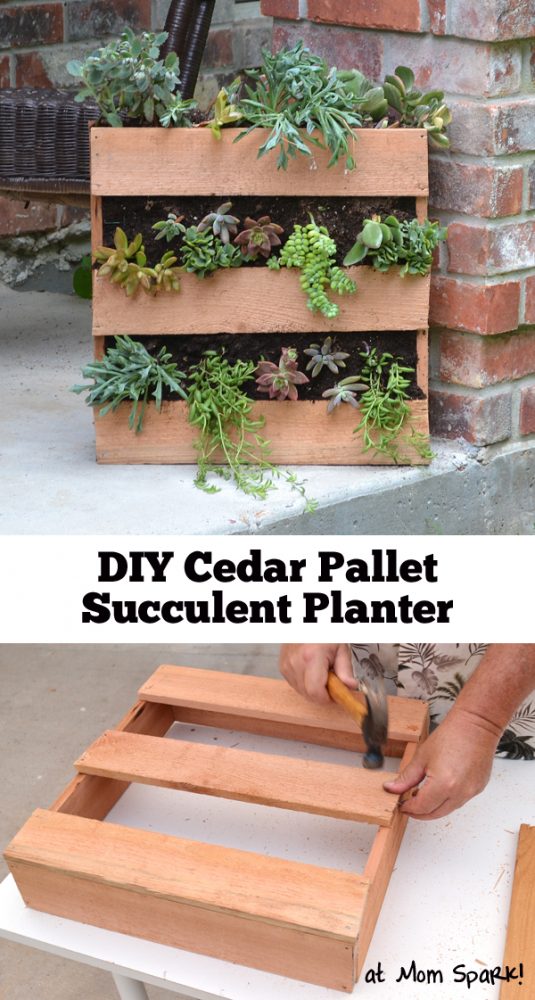
DIY Cedar Pallet Succulent Planter
I’ve never made anything out of pallets. Isn’t that crazy? It’s like, such a big deal with crafty and DIY type bloggers and I’ve never done it. Never even had the urge, to be completely honest. But apparently, I do like the idea of making something from new wood that looks an awful lot like a pallet. Who would have figured?
In trying to make a few things to stage my home for sale and make it appear chicer for buyers, I’m DIYing up a few things that are current and popular. And since succulents AND pallets are pretty darn big, why not combine the two?
And since my dad just happened to have 3 cedar pickets lying around, the cost was for soil and plants only. Not bad at all. But if you do have to purchase your wood, too, just know that it’s only going to add about $5 to your price. Still, not bad at all!
For this project you will need:
- 3 cedarwood 4-inch pickets
(6 food length)
- hammer
and nails
- soil
- succulents
- wire mesh
of some sort (chicken wire
is cheap and sold in small rolls at big box hardware stores and can be used for lots of projects)
- staple gun
How to Make It
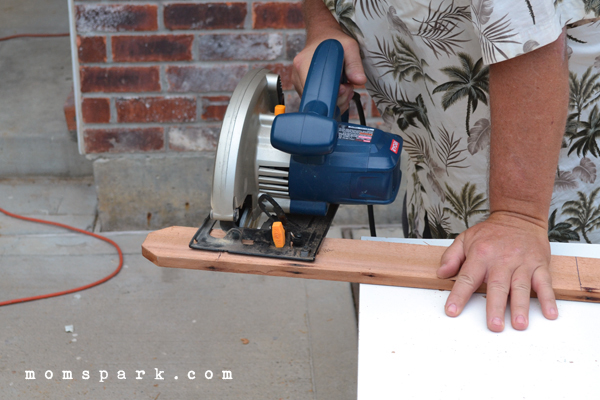
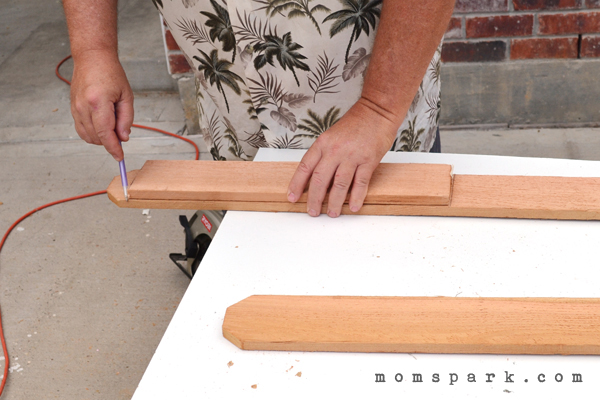
First thing’s first. Cuts. You’ll need to make them. Specifically, you will need to cut 4 boards to a length of 16 1/2 inches and 10 boards to a length of 17 1/2 inches.
To make your pieces more standard in size, use your first cut for each length to mark your other cuts!
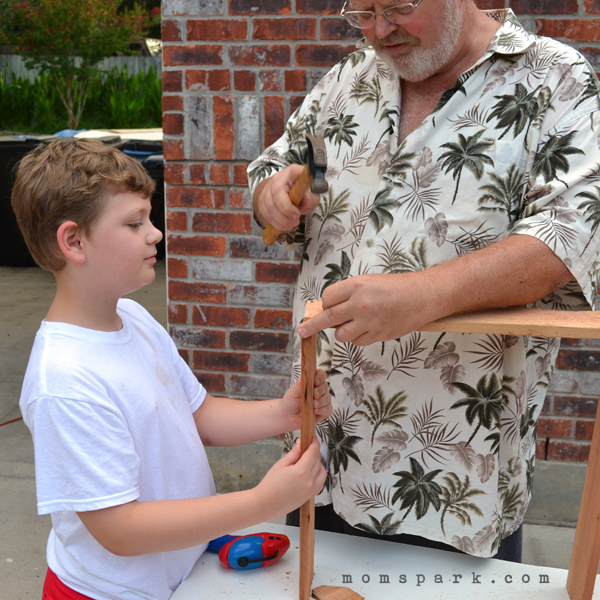
Using your two shorter boards (16.5) plus two of your longer (17.5) make a square frame. This is considerably easier when you have two pairs of hands. Using a hammer and trim nails hammer the corners together.
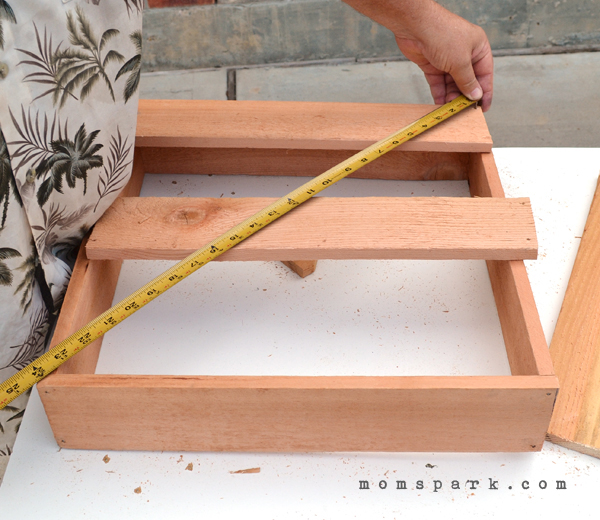
Make sure your square is definitely square by measuring diagonally both ways. Are the numbers the same? If so your box is square. If not finagle and move around until they are.
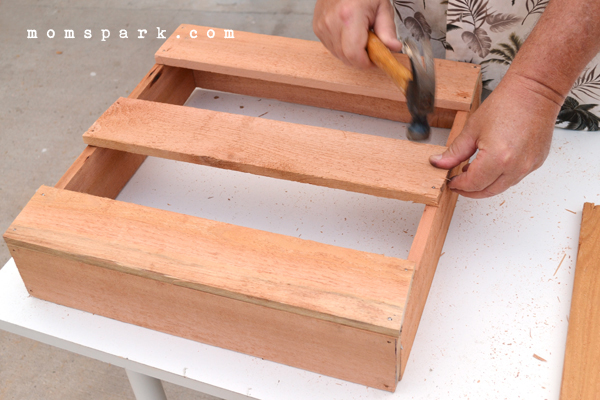
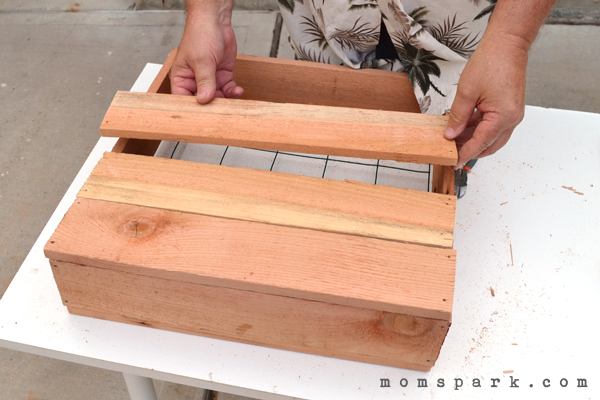
Now attach two boards to the top and bottom and a third to the center. This will be the front side of your planter.
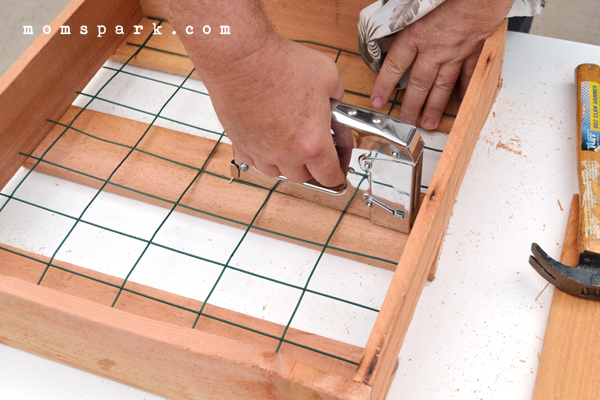
Use your staple gun to attach your wire mesh to the inside of your planter. This is mesh left over from a fence but the chicken wire is just as easy to use and a lot cheaper if you’re buying everything to start from scratch.
Hammer on your backside and when completed, pry off either the top or bottom piece so you can plant succulents up there, too! Reinforce with trim nails if necessary.
And this is where I got up really early so I could go solo on the project!
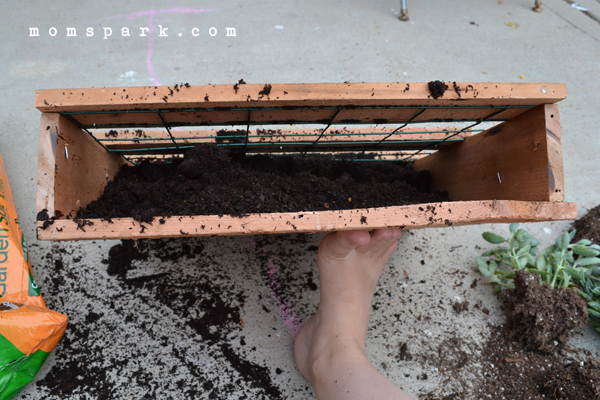
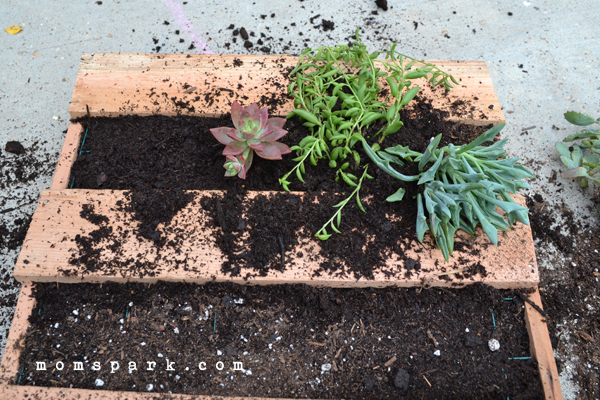
Take your soil and, with your pallet at an angle and fill ‘er up. I actually used my foot to keep it at the proper angle and it was pretty easy.
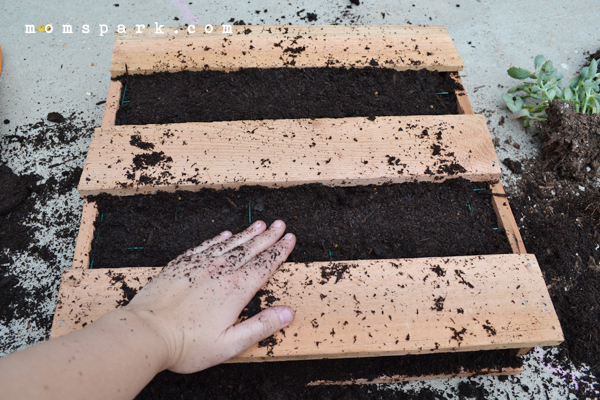
Do your best to kind of pat the soil down, but know it’s going to get everywhere throughout the planting process.
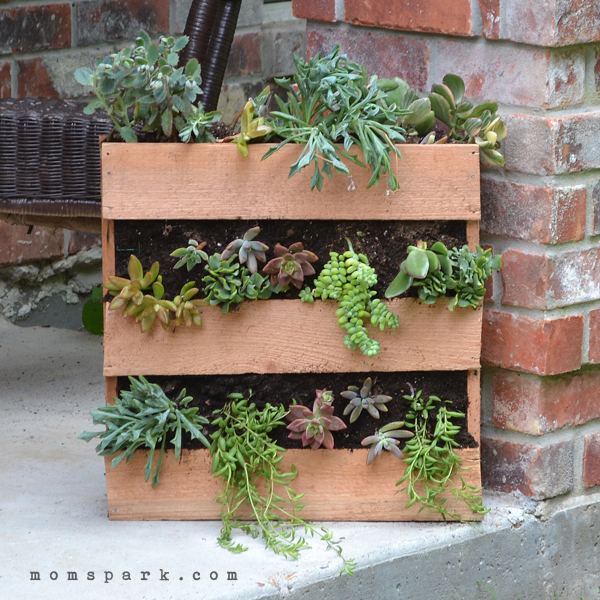
Plant your succulents as you please, making sure that anything that will grow to hang down is on at the bottom so it doesn’t cover other plants.
I purchased bigger plants and split them up and spread them around my planter to get the most bang for the buck!
When you tilt your planter up for the first time, you may need to dust away from the soil that wants to fall out. Over time it will become more compacted and be less likely to fall out. Plus the plants will expand to take up space, also helping to keep the soil where it belongs.
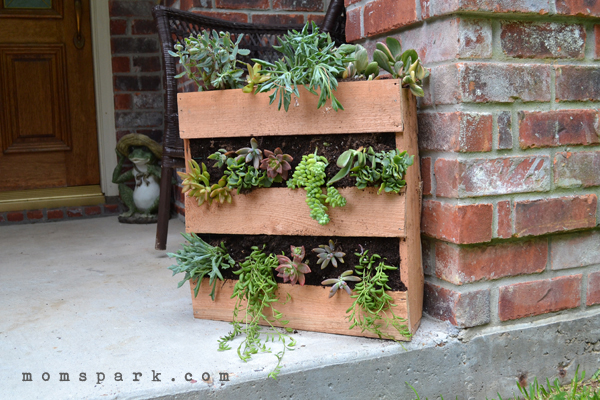
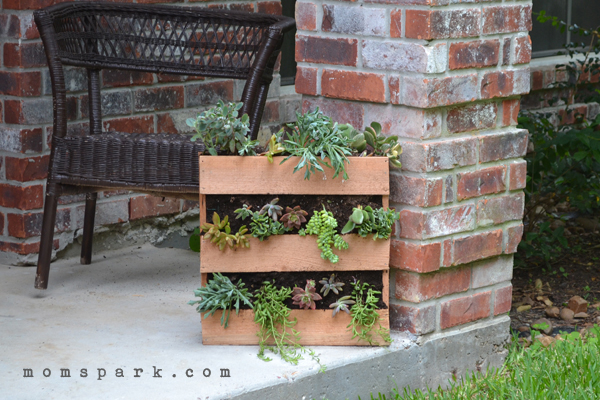
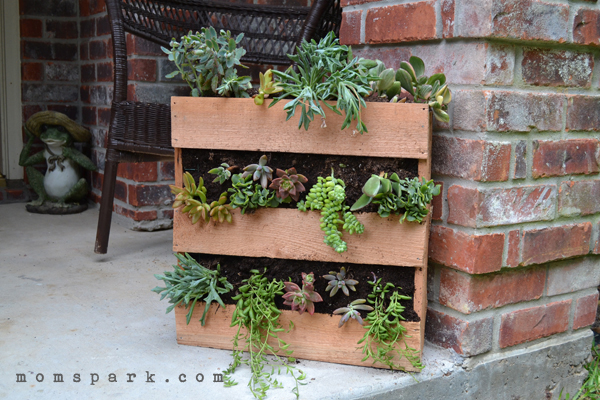
This planter is currently sitting on the front porch, but with a few days of storms ahead, it will be moved to hang on a porch wall where it will not get over-watered accidentally. Just know that this sucker is HEAVY with all of that soil in there so you’ll need to really do a good job hanging it!
I’ll try to remember ad post an update when this beauty fills out a bit, but all in all, this was a very low budget/high impact type of project! And if you’re not one for power tools, you can ask the fellas at just about any big box hardware store to cut your pieces for you so you just have to build it out!
What do you think? Are you aching for a cedar pallet succulent planter now? Will it drive potential buyers wild?!?
A crafter since her earliest years, Allison spends a little time every day making something. She crafts, sews, paints, glues things onto other things, and is a firm believer that a life spent creating is a life worth living. Visit Allison’s blog, Dream {a Little} BIGGER.


14 Comments on “DIY Cedar Pallet Succulent Planter”
I love it – you did a great job!
And being it’s succulents you won’t need to water much.
Exactly! Thanks so much for your comment. 🙂
Pingback: Creative Pallet Planter Ideas for Spring DIY Projects & Creative Crafts – How To Make Everything Homemade - DIY Projects & Creative Crafts – How To Make Everything Homemade
Pingback: 20 Creative Pallet Planter Projects for Your Garden - Noted List
Pingback: 25 Easy DIY Plans and Ideas for Making a Pallet Planter | Guide Patterns
Pingback: 25 Easy DIY Ideas for Making a Wood Pallet Planter | Guide Patterns
Pingback: 25 Easy DIY Plans and Ideas for Making a Wood Pallet Planter | Guide Patterns
Pingback: Creative DIY Pallet Planter Ideas for Spring – DIY Ideas Tips
Pingback: 55 Clever Backyard DIY Projects To Occupy You This Spring | DIY Projects
Pingback: 43 Gorgeous DIY Pallet Garden Ideas to Upcycle Your Used Pallets
Awsome working! I noted for my business. Esay for do it! Great (y)
http://cuahangpallet.com/
Fantastic!!! Looks very cool. I hope that I will be able to make this cedar pallet succulent planter myself. Good project, thanks for sharing
Nice. Any pictures of it hung?
Pingback: Gardening with Kids & 20 DIY Outdoor Planters by Just the Woods