How to Make DIY Paper Gift Bows for Presents
I’m frugal. And by frugal, I really mean ridiculously cheap. Because my work requires it, I buy a lot of craft supplies. And you might or might not know that there are stores that have a 40% off coupon that can be used on one item.
Instead of just getting what I need, I’ll stretch it out over days. Or I’ll bring other people with me so that I can get each item at 40% off. I used to drag people around from one to the other and back to them both after lunch (and shift change) in order to save some dough. That is crazy cheap right there.
So imagine my horror when going to a baby shower when I realized that I spent more money on gift wrapping than I did the actual present. If you’re like me you’re just gasping right now. That’s pretty darn ridiculous, is it not? But it was one of those things where I didn’t get my invite until late so I had to buy my gift last minute and didn’t really have time to be frugal and price check around like I normally would. I just went and bought a few items on the registry and picked up wrapping while I was there without paying too much attention to just how much that tissue paper cost me.
DIY Paper Gift Bows for Presents
When I do have the time to be a frugal gift giver I do a lot of DIY wrapping to save cash. Did you know you can really dress up a $1 roll of kraft paper come Christmas wrapping time? Or that you can buy $1 rolls of super cute wrapping paper from Dollar General and sometimes even the buck bins at Target?
But bows are always expensive. Seriously. Check it out and you’ll be amazed that they want $3 for a little bit of paper that just so happens to match what you’ve wrapped a gift in.
And so in defiance today I’m going to teach you how to make your own bows and snub your nose at those high-priced pieces of paper that are going straight into the garbage once the gift is opened anyway.
Items Needed for Paper Gift Bows
How to Make Paper Gift Bows
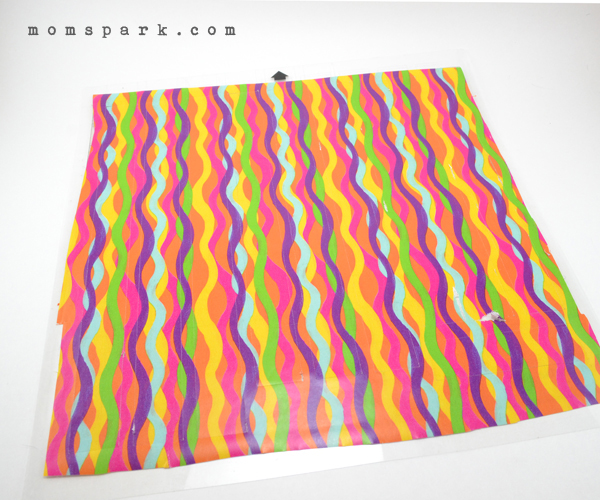
Okie dokie – first up is gift wrap. For this post, I snagged three cute and complimentary rolls of gift wrap for a buck apiece Dollar General. Now, this paper is a lot thinner than fancy papers but it gets the job done and makes for beautiful bows. FYI – the paper above, for whatever reason kind of tore when I was cutting in my Silhouette Cameo but the other two were just fine. So buy two rolls and use whichever paper cuts the best (or just do two cuts as I did and use the best cut pieces).
If cutting by hand (and there is no shame in that) you’ll need 3 pieces of 3 different sizes for your outer, inner, and inside bow sections. For these bows cut pieces to 11.5 inches by 1 inch, 10.5 inches by 1 inch and 9.5 inches by 1 inch. After your first go, you can make them larger or smaller as you choose to keep your strips 1 inch in length shorter than the last. You’ll also need one piece that is 3.5-5 inches by 1 inch for the center loop to fill the bow out.
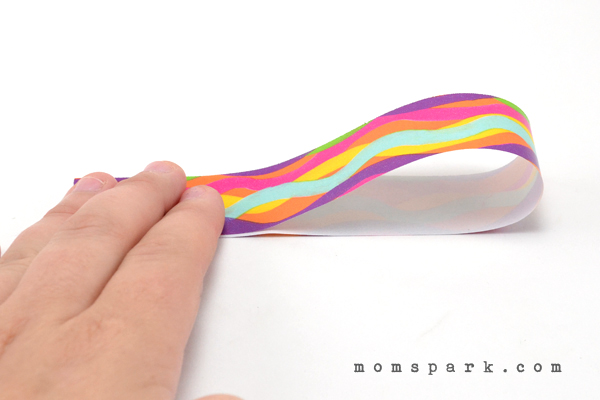
Take one strip and fold in half to mark the center of the paper.
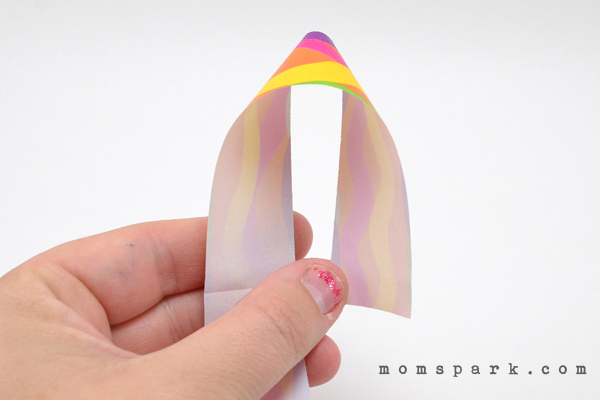
Take one end and fold toward the center. See how it’s bending like an upside-down letter U?
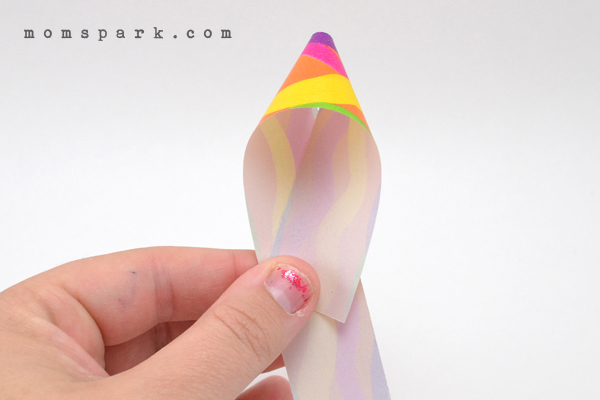
Continue bringing the end to the center to form your first loop. Flip the piece over and repeat for the other side.
And just so you know this does take a bit of practice. So don’t stress if you can’t make the loops perfectly your first go.
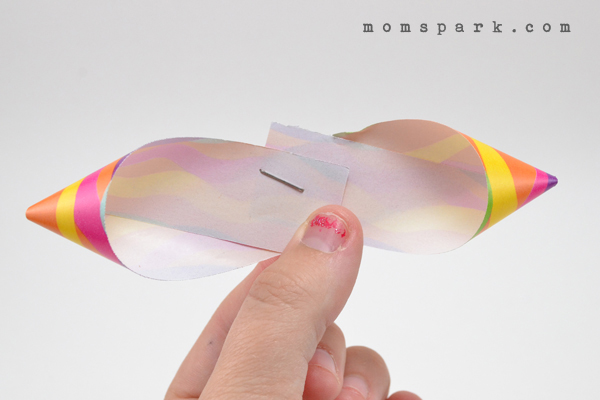
Staple the center to hold both loops in place. Continue for the other two strips for the same size.
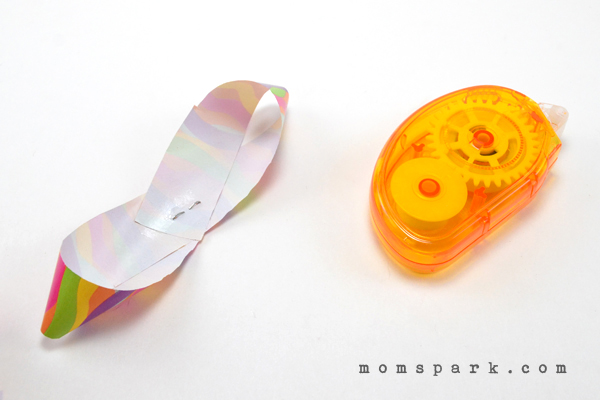
Combine the three you just folded together by applying tape or adhesive to the center of one loop (by the staple)…
And placing them together like so. Above is my outer and middle portions of the bow ready to go.
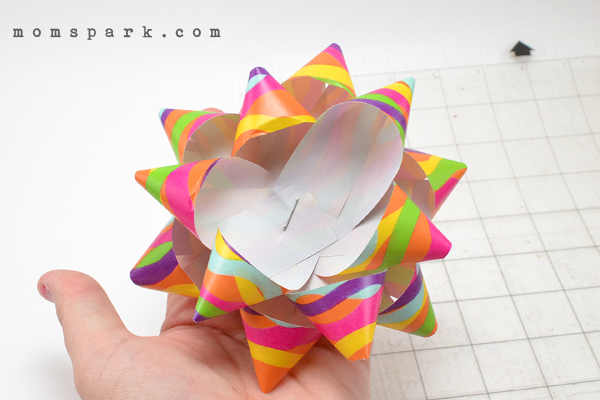
Glue those two pieces together making sure to place the loops in the gaps of the loops from the section beneath.
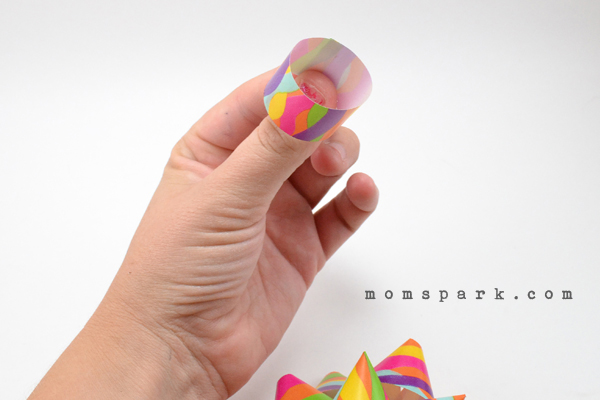
When you have your three layers together, take your smallest piece (3.5-5 inches long) and turn it into a loop with the help of your adhesive. Place adhesive on the bottom and jam that business into the gap left in the middle of your bow.
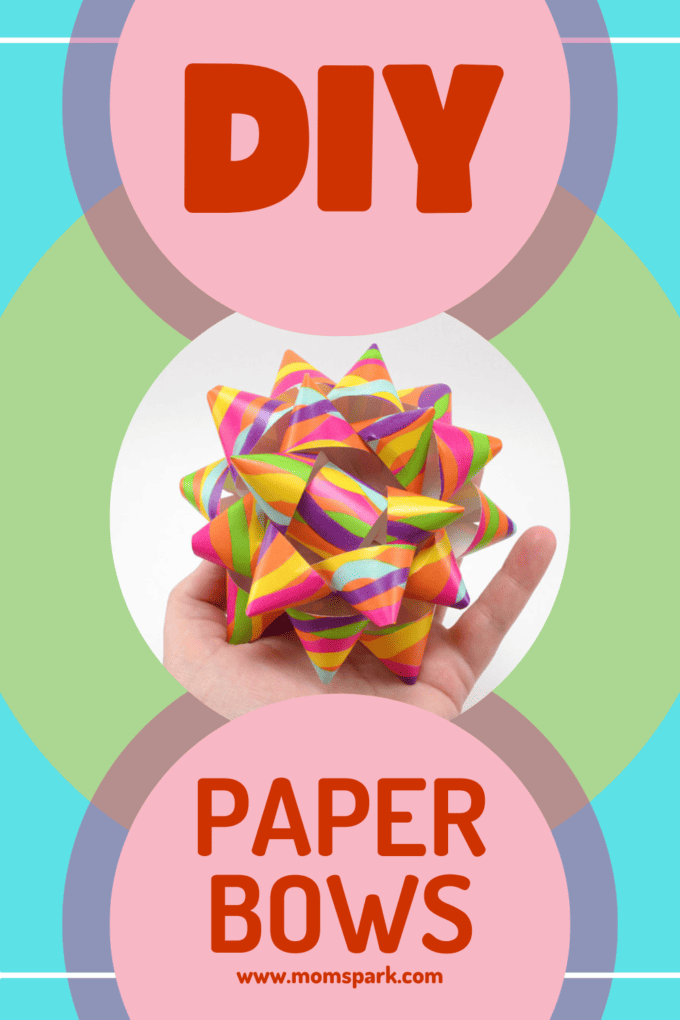
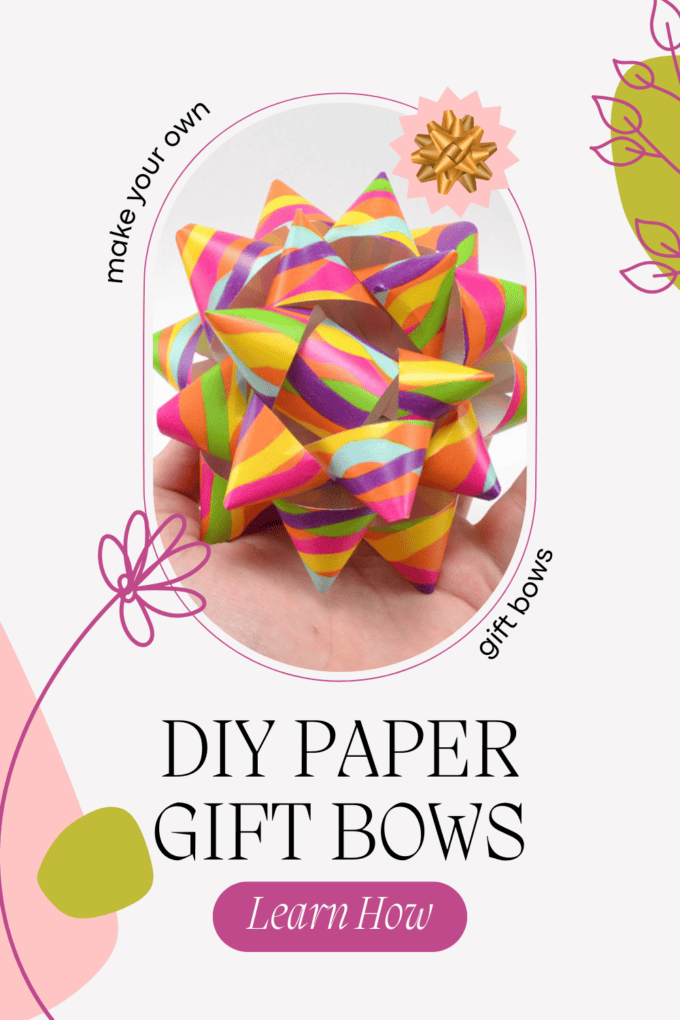
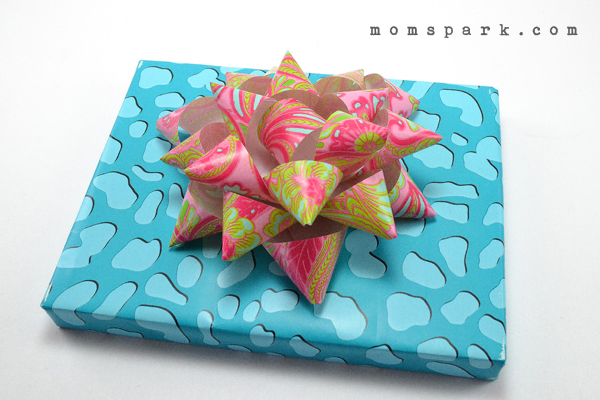
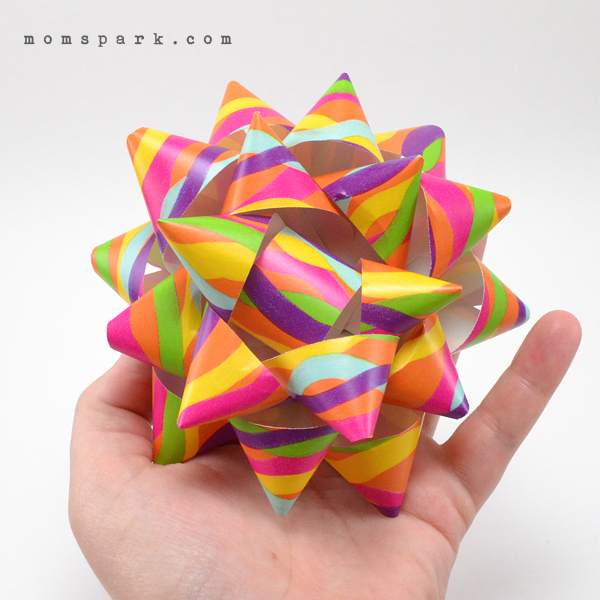
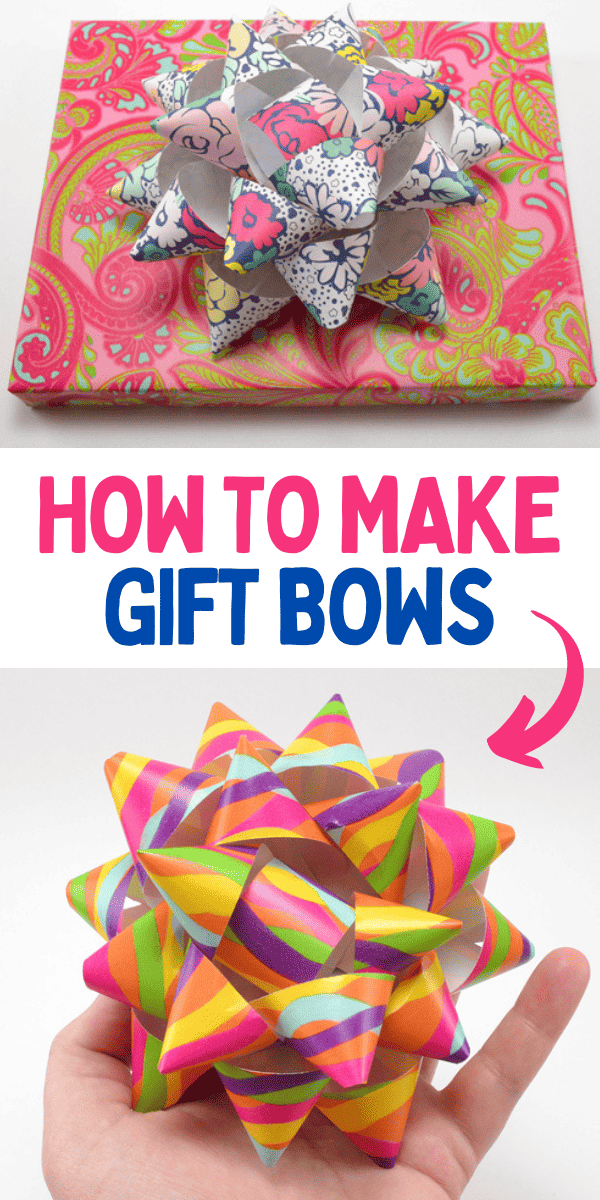
And you have a homemade paper bow all ready to adorn your gifts gorgeously and frugally!
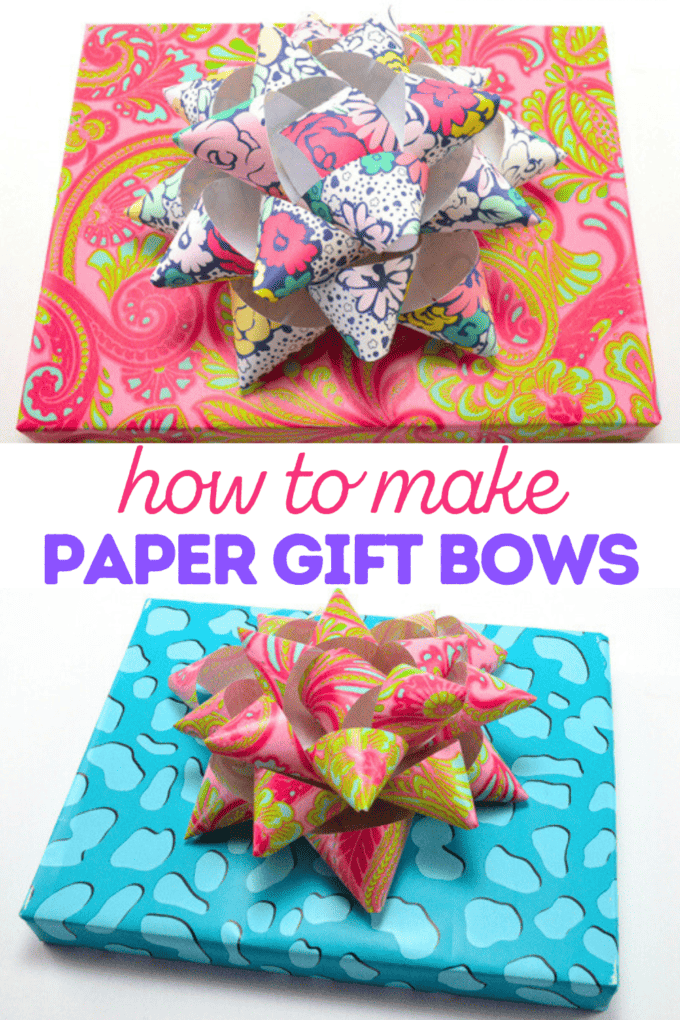
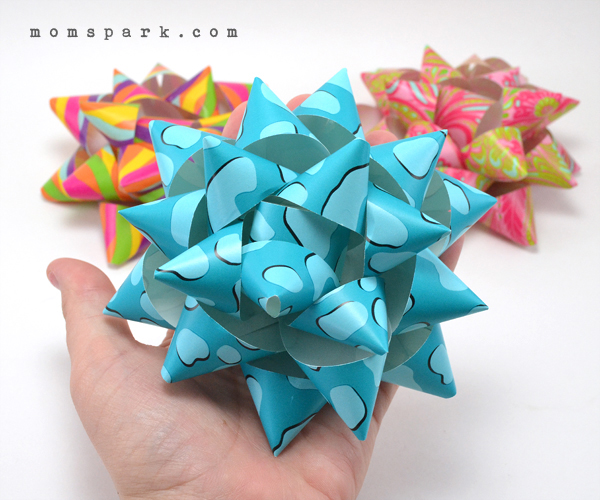
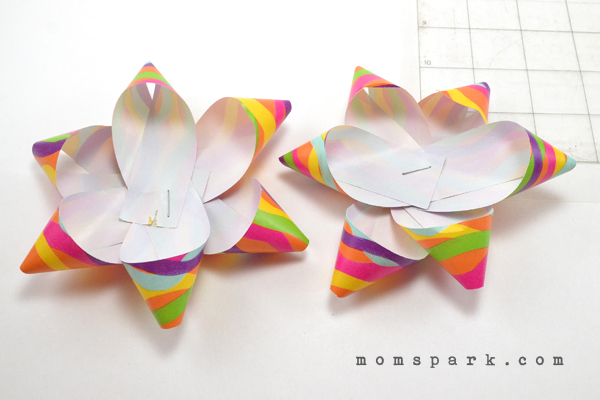
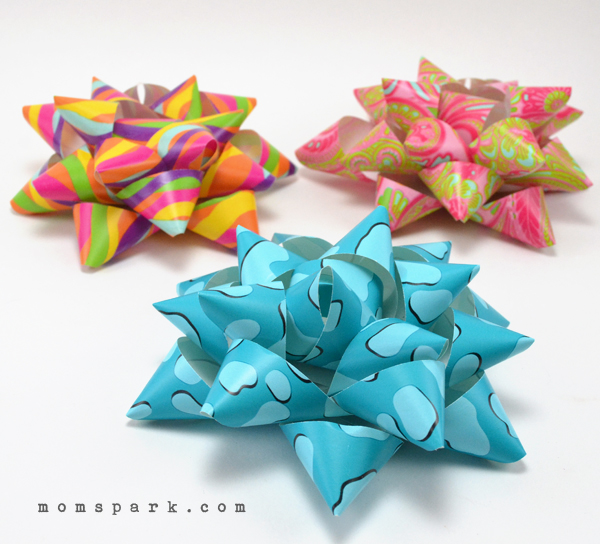
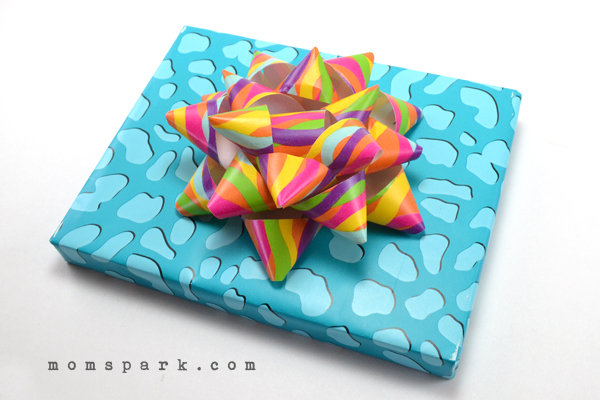
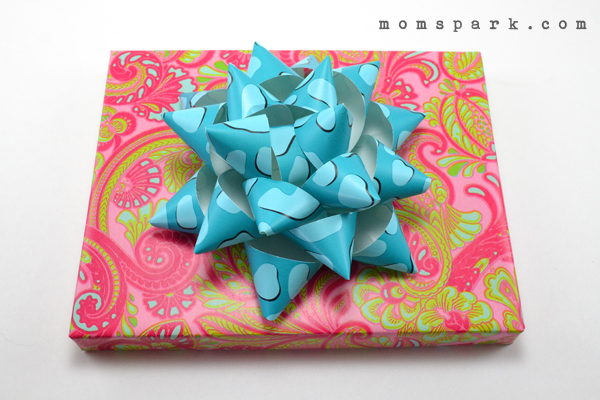
Since I bought three rolls of paper I was able to make 3 different bows to mix and match with wrapped gifts…
I think this combination wound up being my favorite.
But this one was nice, too!
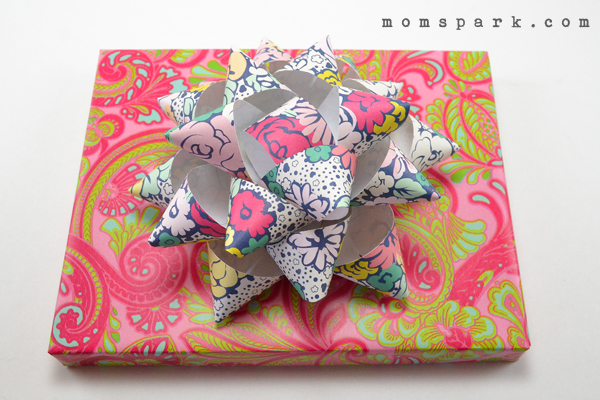
And just to see how things worked out, I tried making a bow with a piece of scrapbooking paper. In the end, the bow is much more firm and in place but it’s also a bit more difficult to work with than the thinner paper. Plus the gaps in the bow are much more noticeable. In the end, I loved this pattern but preferred my gift wrap bows best.
And that’s all there is to that! What do you think? Are you going to forgo the expensive bows and make your own next time?
A crafter since her earliest years, Allison spends a little time every day making something. She crafts, sews, paints, glues things onto other things, and is a firm believer that a life spent creating is a life worth living. Visit Allison’s blog, Dream {a Little} BIGGER.


35 Comments on “How to Make DIY Paper Gift Bows for Presents”
Thank you for sharing, I always wanted to make my own bows like this. I can wait to try it!
🙂
Love it! I have never been a fan of wrapping craft paper- I find it too thick. But these bows are so BEAUTIFUL! Even better than store bought because they won’t be crushed! Thanks!!!
The stuff you buy at Dollar General and the dollar bins at Target isn’t thick at all… give it a shot, I think you’ll like it!
Wow! So simple but so pretty and unique. I love gift wrapping but am always finding things like ribbons and bows too expensive to justify (and sometimes end up costing more than the gift itself too!). Definitely giving this a go. Thank you!!
Fabulous! Let us know if you need any help at all. 🙂
Pingback: Free Crafting Patterns: Favors, Gift Bags, and Party Decorations | married to a bmw
Pingback: How To Make DIY Paper Gift Bows
How clever!! Thanks for sharing.
Pingback: Inspirerande inslagning | DIY or DIE
Pingback: 10 Simple DIY Holiday Gift Bows And Wrapping Ideas From Everyday Materials | BuzzOuch
Pingback: 10 Simple DIY Holiday Gift Bows And Wrapping Ideas From Everyday Materials | Fluharty Industries R&D
Pingback: 10 DIY Paper Bows For Any Occasion
Hi! Love this but I can’t seem to get it right!! My bows look nothing like yours! I’ve tried the wrapping paper and even try regular stock paper. Super sad mom here!!
I have the measurements correct.
Pingback: 12 Days of Crafting Day 2: Wrapping Paper Hacks | Craftz'n'Craziness
Pingback: DIY Gift Wrapping Bows | Life According to Jamie
I always thought those bows would be super hard to make, so it’s so reassuring to see you make them so easily! And I adore all the different patterns.
Exactly!
Pingback: 8 idées pour des papiers cadeaux beaux et écolos
My girlfriend is a great gift wrapper. Thanks for giving me an easy way to step up my game!
Ha! Our pleasure.
Thank you! I had to paint some custom wrapping paper because I wanted a specific design that isn’t made in wrapping paper and I had 2 gifts that were too large to wrap so I wanted to put a bow on them. Your tutorial was simple and clear. I ended up holding all the strips of paper together and using one staple in the end. The points for a little crunched, but bounced right back with a little help. Thank you!
I am burning 30 hammers with Bible verses for Father’s Day at our church and decided to make bows out of duct tape. Thanks for the great tutorial.
That’s a great idea!
Thank you for this so much! I’m so bad at packing presents. Maybe I’ll manage to make them look a bit better with these bows. (If I manage to make them properly.. 🙂
Let me know how it goes!
Thanks!, I used this to make my wife a home made bow for her Xmas gift. making it yourself makes it extra special!
Yay! I’m so happy to hear that!
Adorbs!!!! Love the little middle idea! I made one before I found your post but used a coloring book page that I didn’t mind cutting up. It turned out great, everyone loved it! So that’s an idea if you have kids that color to give gifts to grandma/grandpa/family. Super fun.
Yay! That makes me so happy!
O M G here I am buying bows when I can make pretty ones like these! Def doing this! I have so much scrap paper to use up too! LOVE IT!!!
I’m so glad you like it!
Fabulous and looks great!
Thank you!
don’t know how to make it