DIY Tassel Cropped Tee
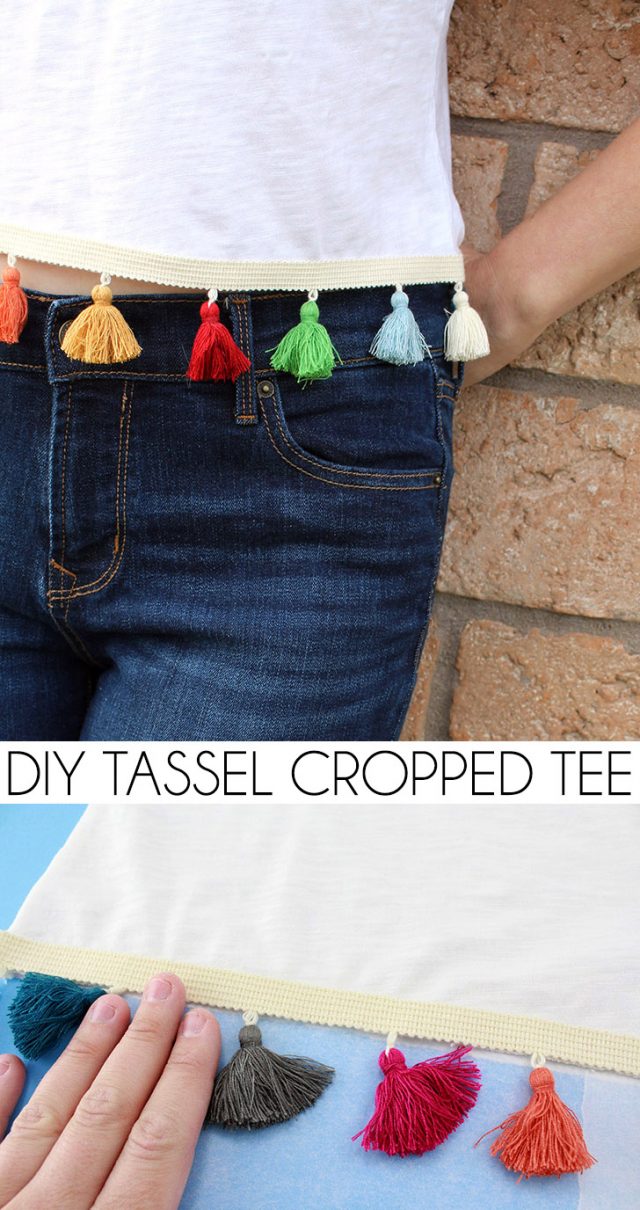
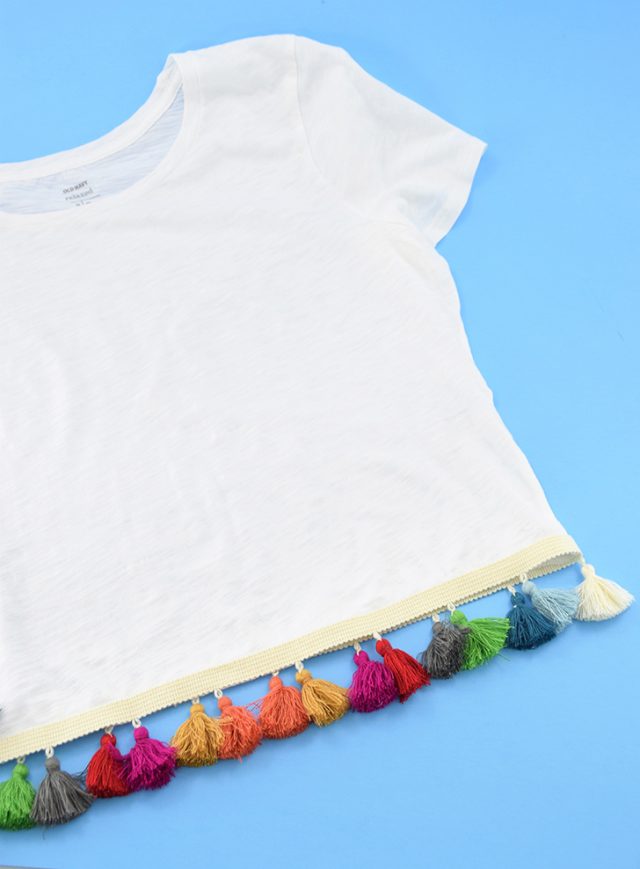
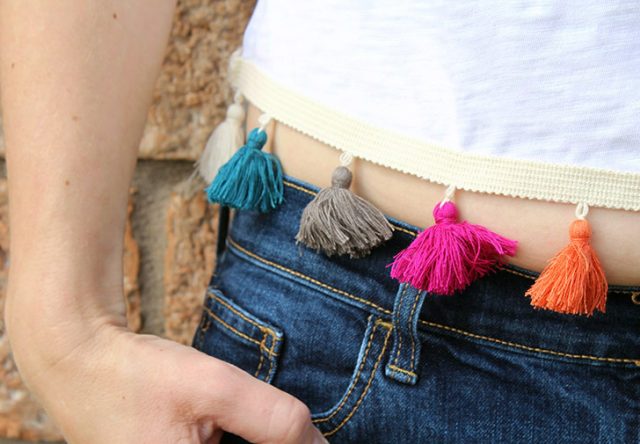
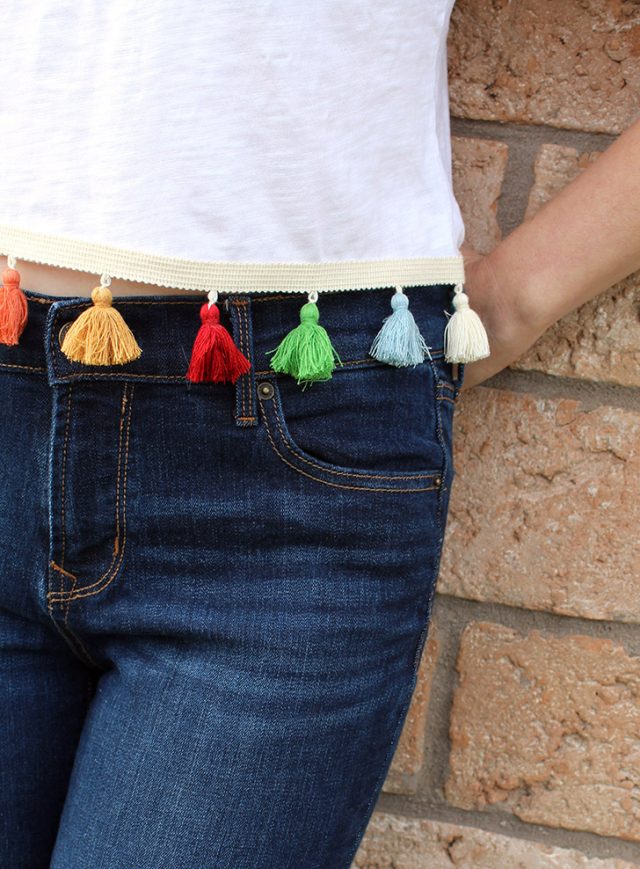
Learn how to make these adorable and trendy DIY tassel cropped tee with a simple tee-shirt, tassels, and hemming!
So the other day we’re walking around the mall and I see the CUTEST top with colorful tassels along the bottom. I’m in LOVE. And then I realize that it is in a junior’s shop. Now I’m not pointing fingers but I feel like I am not able to pull off teen fashions. Some ladies my age totally can rock cute crops and super short shorts but I am not one of those ladies.
I’m one of those ladies who recently gave away all of my old bikinis to replace them with ALL high-waisted bikinis. Basically business went down like this… Rob and I were packing to go out of town for a few days and I busted out my bathing suit box and then balked at what I had worn just last year. Just no.
Now even though I loved that crop top there were 2 solid reasons to instead go home and DIY up my own version. 1 – A DIY version can show just a little peek of my belly, which is what I’m comfortable with right now in my life. 2 – I was NOT going into a store where everybody browsing the racks looked like they were 13 and even if I did if I bought that top I’d get it home and it would go in the itty bitty bikini box.
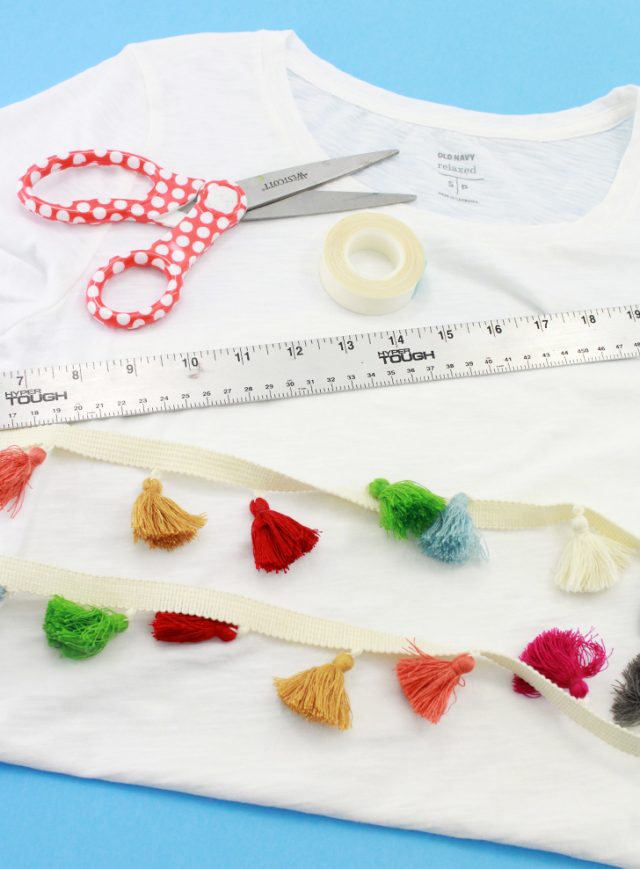
For this project you will need:
- Jersey tee-shirt
(jersey fabric, only)
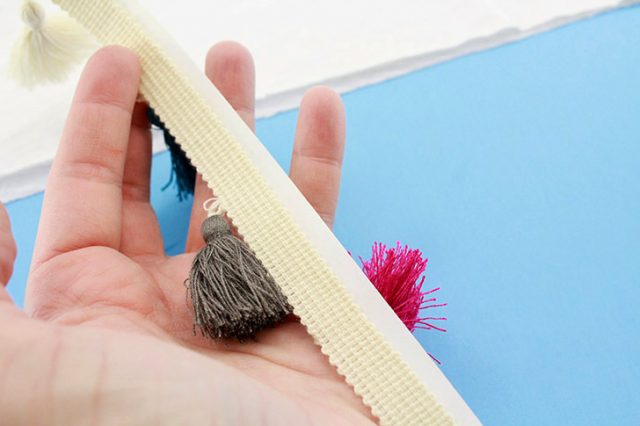
- Tassel fringe
(or pompom
!)
- Hemming
- Fabric glue
First thing’s first you’ll need to find your fringe. I got mine at Hobby Lobby and it was $10 a yard and I used right at 1 yard but I used a 40% off and paid $6. I’m using a $5 boyfriend tee (a slightly more loose fit) from Old Navy.
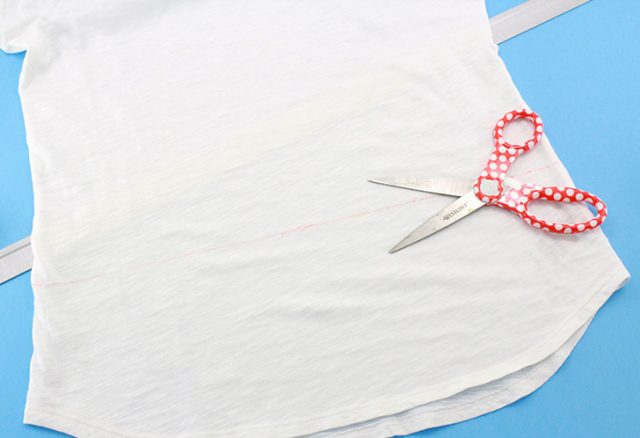
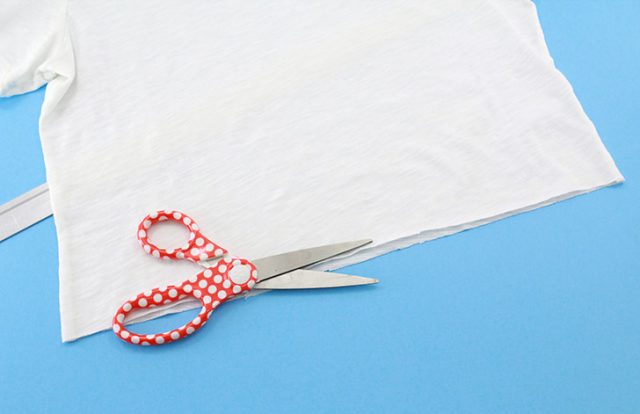
Put on the jeans or pans you’re most likely going to wear with this top because it will make a WORLD of difference in the level you’re comfortable with the crop. I decided that I’ll be wearing high-waisted jeans and skirts with this top and so I planned accordingly. With the top on your person (seriously, this is HUGE) and about the waist level of pants, then look in the mirror and mess around with different cropped lengths. Decide what you’re comfortable with and mark it with a temporary fabric marker. Use a straight edge to fill out your line and it will help to have a straight bottom once you’re done cutting.
Trim your shirt as straight as possible.
Now I’m a moron and I went out and bought my trim and decided I already had the right hemming tape at home but it turns out I did not. Trimming the excess off of hemming tape is a pain in the everlovin’ rear, guys. Like, it’s such a mess. Buy the right width for the job OR just go with fabric glue. The glue takes a while to fully set up but it’s super cheap and easy.
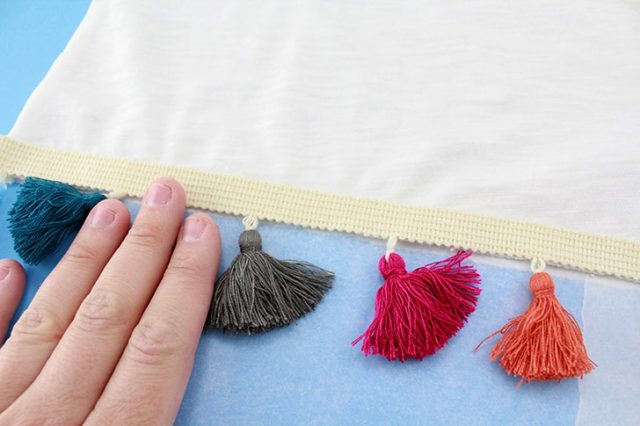
Do NOT cut your trim, but leave a bit of excess off of one side of your shirt and then glue on to the front side. Allow the glue to dry (if necessary) and then flip the shirt over continuing along the backside until you meet up with the beginning of the trim.
Run fabric glue along with the two places where you need to cut on the trim to get a nice, flush fit with both ends glued together. Allow that glue to dry so that it will hold your trim together without unraveling. Once fully dry trim to fit and then glue down. Allow the glue or hemming tape to cure to package directions.
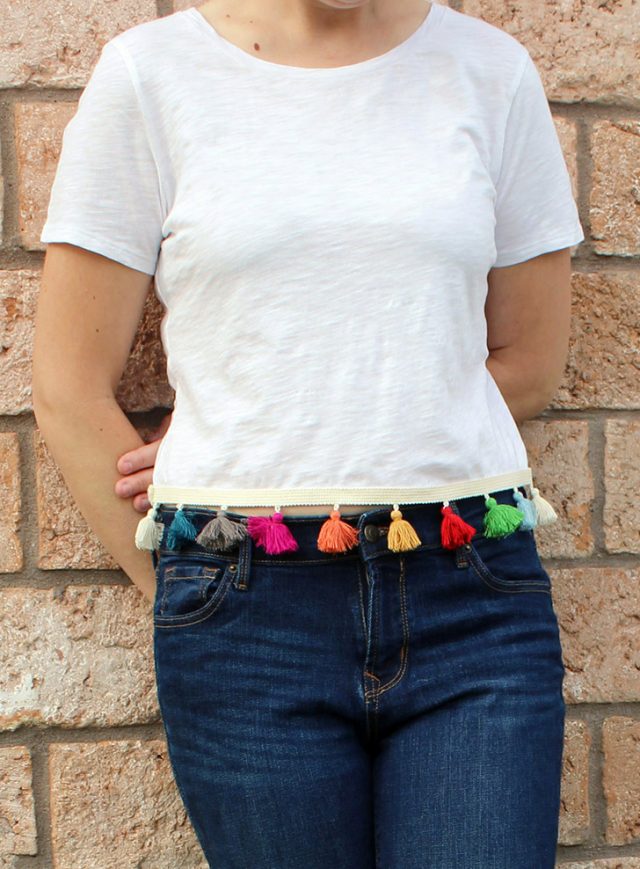
When I stand normally my cropped tee shows about 1 inch of my belly, which I’m totally fine with.
I love this project because it was probably about the same price in supplies as I would have paid for the other tee but I wouldn’t know because I didn’t set foot in that store. But no matter, I LOVE this shirt and I’m totally rocking it when we head out to the beach this weekend! If you’re missing the good old crop top days, I hope you’ll give this a go!
A crafter since her earliest years, Allison spends a little time every day making something. She crafts, sews, paints, glues things onto other things, and is a firm believer that a life spent creating is a life worth living. Visit Allison’s blog, Dream {a Little} BIGGER.


One Comment on “DIY Tassel Cropped Tee”
Good post. very interesting post share. beautiful colorful tassels. love it.