Gum Drop Christmas Ornaments DIY Craft
If you ask me, and I know you technically didn’t, Christmas time is the time for gumdrops. I know most people envision candy canes or gingerbread men when thinking of THE Christmas sweet but I always have and always will go for gumdrops. And why wouldn’t I? The colors are awesome and with all of the sugar on the outside, they’re almost glittery and I love me some glitter!
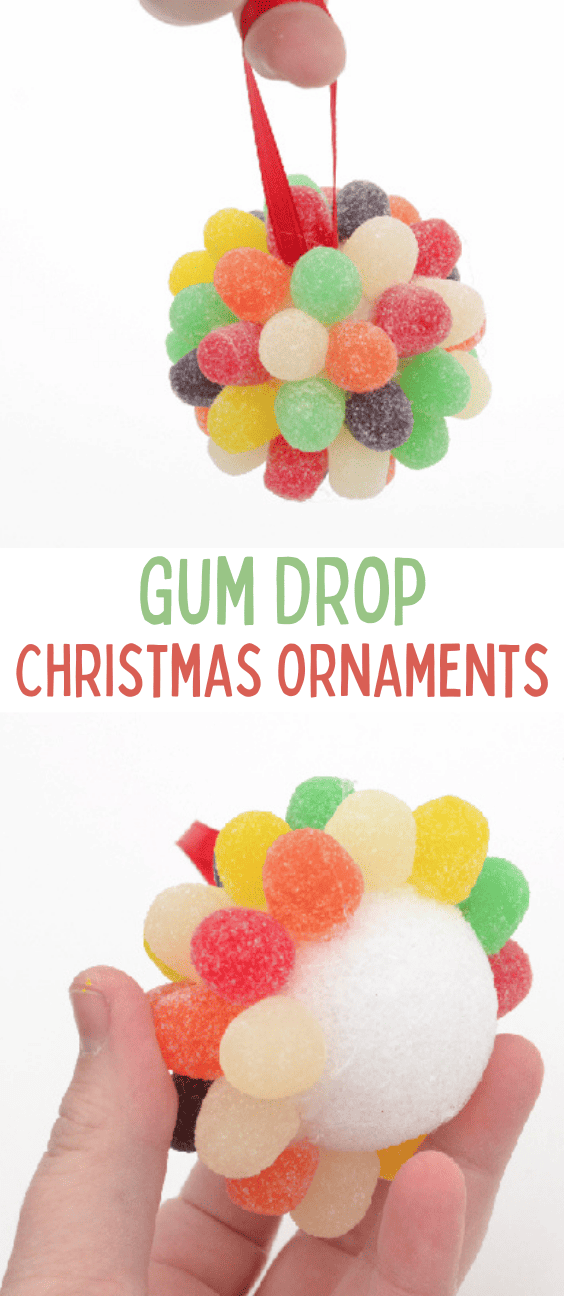
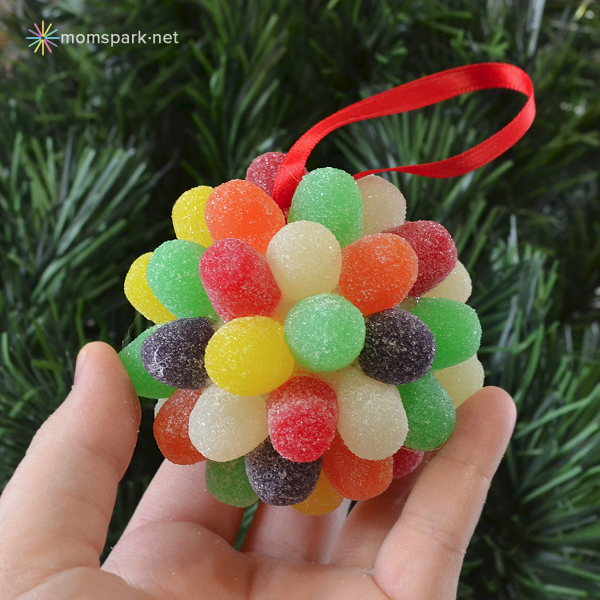
Gum Drop Christmas Ornaments
So this season I decided that I wanted to work my most favorite holiday sweets into my decor. Heck, I’ve even got a gum drop wreath I made hanging up in my house. Now I know that these may very well not keep well until next season but I’m thinking wrapped up pretty well they just might. And since I loved how my first tester ornament went, well, there was absolutely no turning back.
And one little, itsy bitsy confession? These aren’t even gumdrops. Nope. They weren’t selling them yet when I was DIY-ing up my Christmas scene so I had to use spice drops which look the same but are, well, spicy. I hate the taste of spice drops but seeing as how I won’t be eating them it doesn’t really matter. It is very nice, though the ornaments smell nice and spicy!
Items Needed for Gum Drop Ornaments
- Small Styrofoam balls
(got mine at Dollar Tree and used only the largest size in the package)
- Gum drops
OR Spice Drops
(1- 10 ounce package will cover approximately 1.5 balls)
- Thin ribbon
- Straight pins
- Hot glue
How to Make for Gum Drop Ornaments
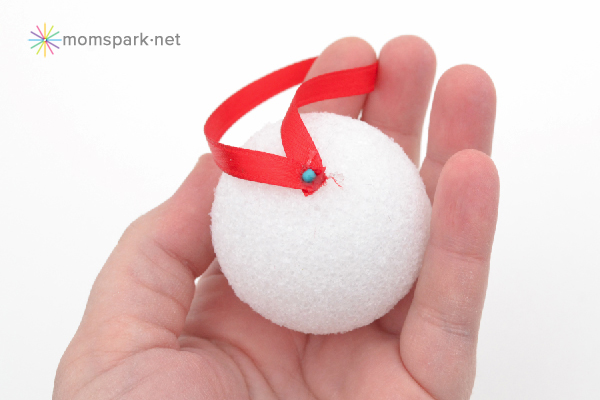
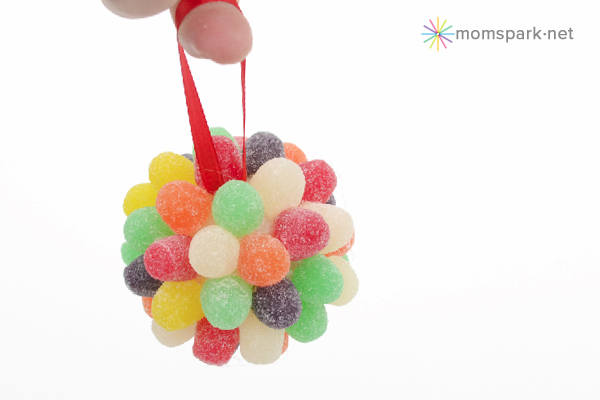
Cut a piece of ribbon about 4 inches long. Make a loop and secure it to the Styrofoam with your pin. Go over the pin and ribbon with a dab of hot glue. You don’t need much, in fact, my pin is glued down in the pic but you can’t really tell. No globs!
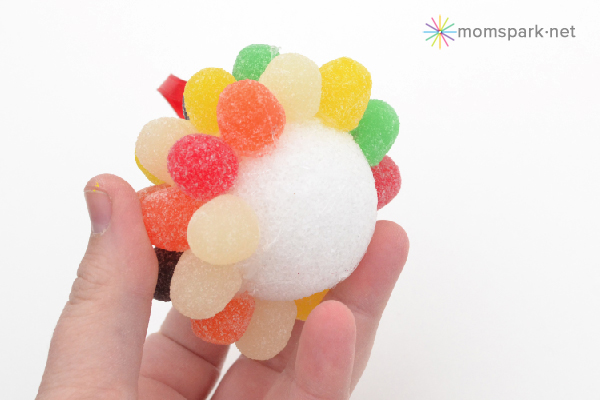
Now there’s no exact science to this part… simply start applying glue to the bottom of a gumdrop and hold it to the Styrofoam for a second or two and move on to the next one.
Start forming a circle around your ribbon and just keep working around each circle, creating another just beneath. Continue until the whole foam ball is covered!
You’ll sometimes have a gap or two, but since the foam beneath is kind of sparkly like the candies it’s not terribly obvious unless you’re looking for it.
In some cases, you can kind of squish up the candy to be a bit thinner to fit into gaps that may be shaped kind of wonky for one reason or another.
While in the beginning, the Styrofoam balls didn’t look big enough to be much of an impact on a standard Christmas tree, when covered with candy it’s much larger. Oh, and it’s much heavier, too. Each ball uses up about 6 ounces of candy making each ornament a whopping 1/3 pound! But never fear, most trees can handle these little guys with no problems.
Think you’ll knock out some sweet little ornaments this season? I’d love to see them if you do!
A crafter since her earliest years, Allison spends a little time every day making something. She crafts, sews, paints, glues things onto other things, and is a firm believer that a life spent creating is a life worth living. Visit Allison’s blog, Dream {a Little} BIGGER.


12 Comments on “Gum Drop Christmas Ornaments DIY Craft”
Pingback: Christmas Crafting Round-Up | Indie Crafts | CraftGossip.com
Pingback: Christmas Tree Inspiration | Mom Sparks - A Blog for Moms - Mom Blogger
Pingback: 14 Awesome DIY Foodie Christmas Ornaments
Pingback: 10 Cute Ornaments Your Kids Can Make | Economical Mommy
Pingback: DIY Christmas ornaments made from candy | Chickabug
It’s really very complicated in this full of activity life to listen news on TV, so I only use world wide web
for that purpose, and get the newest news.
Pingback: Christmas Ornaments - 70 Holiday Decorations & Decor - Rilane
Pingback: Simple DIY Candy Ornaments
Pingback: Decorazioni di Natale fai da te con le caramelle
Pingback: Weggl | 17 Edible Holiday Decorations That Look As Amazing As They Taste
Pingback: 15 Creative DIY Holiday Decorations - Travels And Living
Pingback: 17 DIY Holiday Decorations You Can Eat Right Off The Tree | Viral Social